
Intel AMT (Active Management Technology) is a very powerful tool built into most enterprise workstations that allows you to perform out of band management of your workstations. This is especially useful when your workstations are located at another site or away from technical staff. It allows your support staff to control the console and power on/off/cycle remotely, as long as the workstation has power and an active network connection.
In this post I will detail how we have configured Intel AMT in our environment.
Before I get started I should give a few details about our environment to explain some of the decisions that were made. We are a small IT department at a university that is separate from the university’s central IT services department. We rely on the central IT department for a lot of services (like Active Directory), but we often don’t have administrator level access to these services. Because of this, some things are just not possible for us to do, or we have to come at them from a different angle to get the same or similar result. We also don’t have a lot of budget to purchase software (although we have access to the central Microsoft site license), so we do what we can with free or open source software.
Configure Windows Server
The first step is to set up a Windows server to host the components required for AMT remote configuration. This can be any edition/variant of Windows, but I’ll be working with 2016 with desktop experience.
Install SQL Database
If you already have an SQL server available you can skip this step.
Download the latest version of SQL Server Express.
Launch the installer and perform a basic installation.
Configure Intel SCS (Setup and Configuration Software)
Firstly, download and extract the Intel SCS installer files.
The Intel RCS (Remote Configuration Server) requires .NET 3.5 to be installed, so we need to install that first. This can be easily done in PowerShell with this command:
Install-WindowsFeature -Name NET-Framework-Core
Next browse into the RCS folder from the extracted install files and run IntelSCSInstaller.exe
Read and Accept the license agreement.

Choose Database Mode. This will allow RCS to keep track of all AMT devices. It’s up to you whether to install the console on the server. If you choose not to, you will need to install it on your workstation.
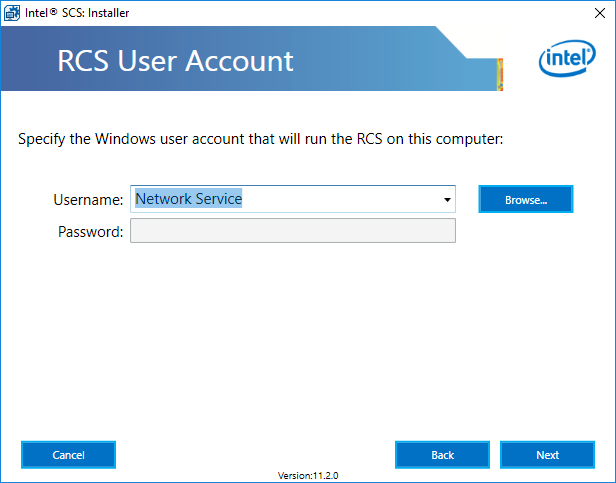
Select the account that you would like to run the service as. We will use the Network Service.

If you performed a basic installation of SQL Server, enter the details shown to connect to the database. If you are using an external database, enter the appropriate details.
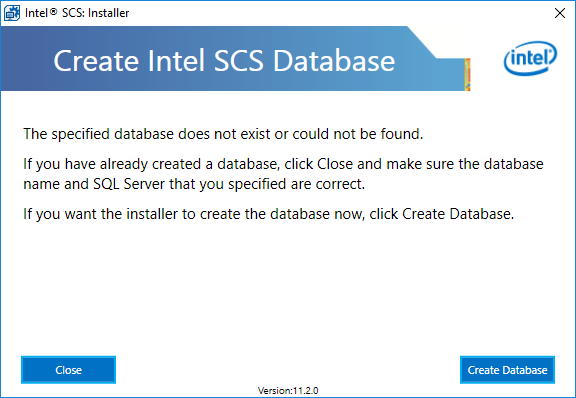
If you haven’t recreated the IntelSCS database on the SQL server (which will be the case if you performed a basic installation), you will be prompted to create the database.
Once the database has been created, close the window and click Install to complete the installation.
You should now have the SCS server and console installed and running. Before we get into configuring SCS, we should install and configure the certificate authority.
Configure CA
All of guides that I have found for configuring TLS for AMT describe how to set up and configure a full public key infrastructure (PKI) using enterprise certificate authorities. While this is more likely the most secure and versatile approach, it has a few limitations. For us, the main limitation was that you require enterprise or domain administrator credentials to install an enterprise CA. We are guests on someone else domain, so we don’t have sufficient permissions to do this. Another limitation is that it requires an additions two servers which introduces more complexity and maintenance requirements. If you don’t require a full enterprise PKI infrastructure and just want to secure your AMT traffic, then configuring a standalone CA on your SCS server is the way to go.
Before you install the Certificate Authority role on the server, you will need to create a CAPolicy.inf file in C:\Windows. The CAPolicy.inf file tells the CA role how to configure itself while it is being installed. These settings cannot be changed afterwards so make sure the file is saved correctly before installing the CA role.
This is the basic CAPolicy.inf file that I used:
Signature="$Windows NT$"
[Certsrv_Server]
RenewalKeyLength=2048
RenewalValidityPeriod=Years
RenewalValidityPeriodUnits=20
CRLPeriod=Years
CRLPeriodUnits=20
CRLDeltaPeriod=Days
CRLDeltaPeriodUnits=0
LoadDefaultTemplates=0
We need to use a key length of 2048 as this is what is supported by Intel. We also set a validity period of 20 Years so that we don’t need to renew the root certificate very often (or at all). You are welcome to shorten this period if you are concerned about the length of time or if you have a company policy that limits the validity period that you can use.
Once we have saved this file in C:\Windows, can install the Certificate authority role on the server. This can be done with the following PowerShell command:
Add-WindowsFeature Adcs-Cert-Authority -IncludeManagementTools
Once the role has been installed we need to configure it. Use the following PowerShell command, and make sure to modify the CACommonName to suit your organisation.
Install-AdcsCertificationAuthority -CAType StandaloneRootCA -CACommonName "Acme Root Certificate Authority" -KeyLength 2048 -HashAlgorithm SHA256 -CryptoProviderName "RSA#Microsoft Software Key Storage Provider" -ValidityPeriod Years -ValidityPeriodUnits 20 -Force
You should see a message showing an ErrorID which should be 0. Now we need to do a little post installation configuration. The following command should take care of it:
certutil.exe –setreg CA\CRLPeriodUnits 20
certutil.exe –setreg CA\CRLPeriod “Years”
certutil.exe –setreg CA\CRLOverlapPeriodUnits 3
certutil.exe –setreg CA\CRLOverlapPeriod “Weeks”
certutil.exe –setreg CA\ValidityPeriodUnits 10
certutil.exe –setreg CA\ValidityPeriod “Years”
certutil.exe -setreg CA\AuditFilter 127
Restart-Service certsvc
These commands set the validity period of certificates generated by this CA, set the certificate revocation list (CRL) validity and enable auditing on the CA. For this guide we aren’t going to properly configure the CRL locations as this CA is only used for a small, specific purpose internal to our organisation. If you like you can install IIS and publish the CRL. This guide has useful information on configuring an enterprise PKI infrastructure, including how to properly publish the CRL.
The last step in configuring the CA is to modify the security settings to allow the SCS service to issue certificates.

Open the Certification Authority snapin (in Windows Administrative Tools) and right-click on your new certificate authority (Acme Root Certificate Authority in this case) and choose Properties. Open the Security tab, click add and choose the NETWORK SERVICE account. Click Ok and select allow for all permissions for the NETWORK SERVICE account.
We have now configured a standalone certificate authority that the Intel SCS service can use to issue TLS certificates to AMT clients.
Create configuration profile
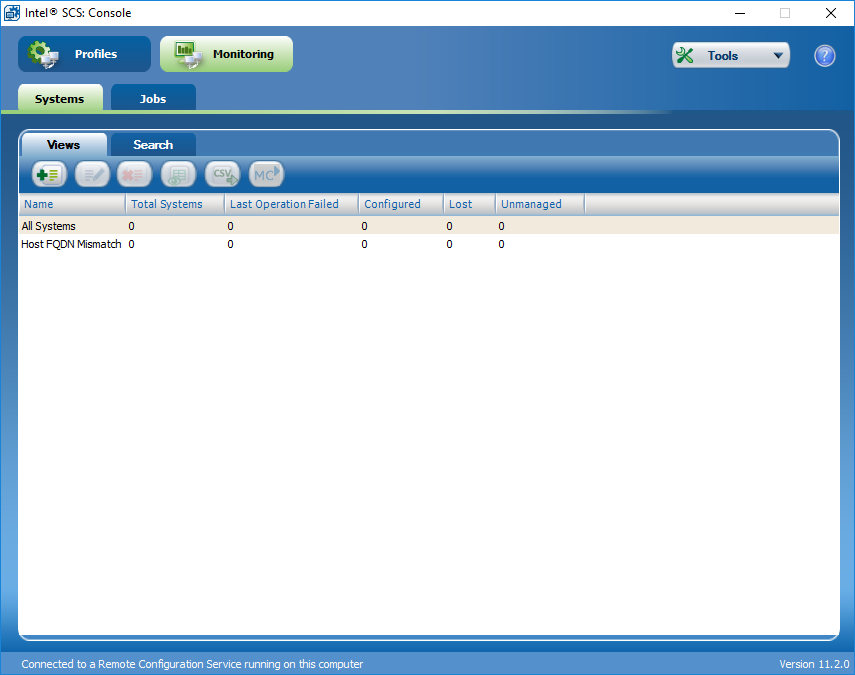
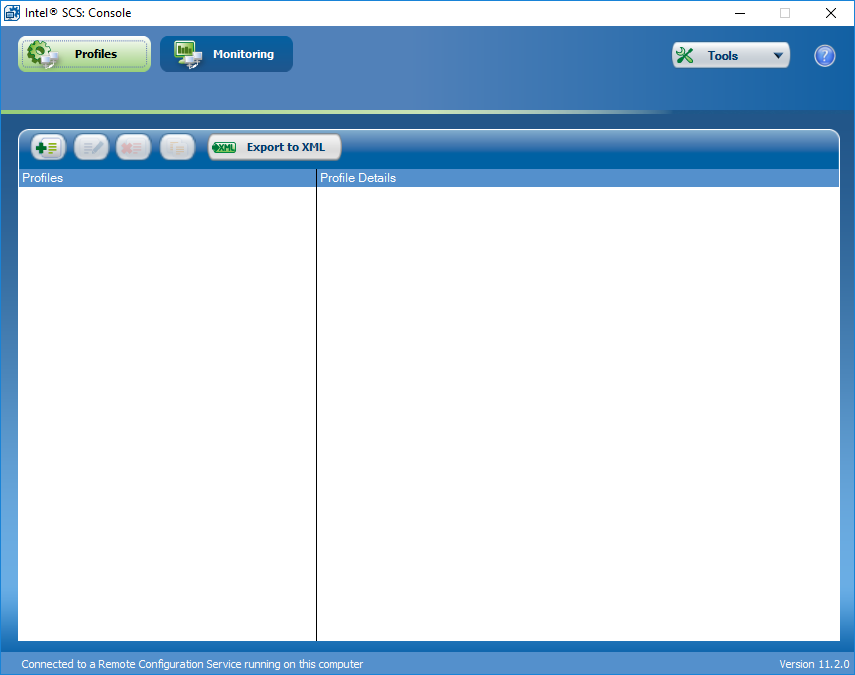
A configuration profile is where we define the AMT settings that will be applied to our devices when we provision them. To create a profile, open the Intel® SCS Console, and click on the Profiles button at the top.
Click the add profile button and give the profile a name (we’re using ‘TLS’ for this example) and click OK.
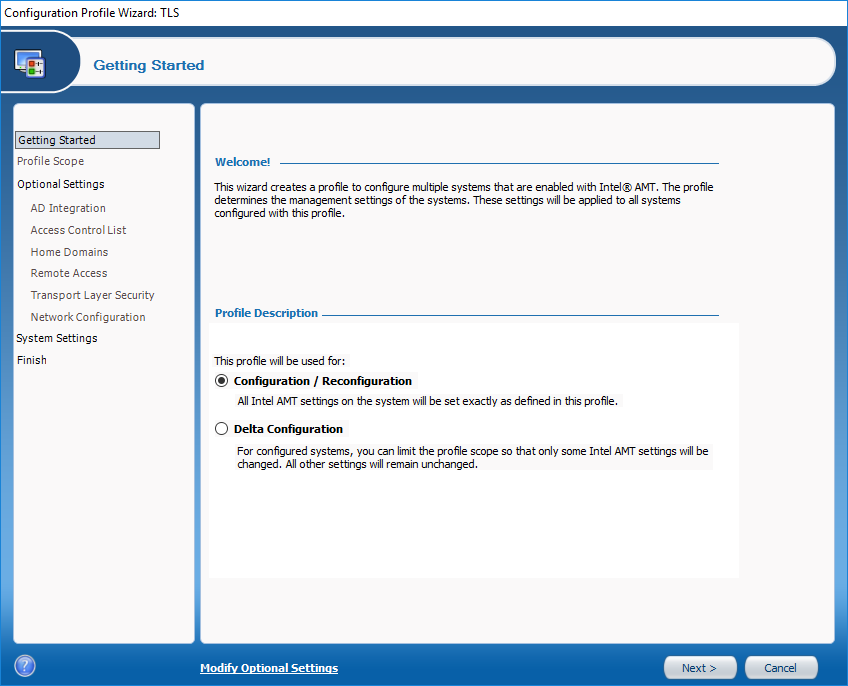
In the Configuration Profile Wizard, we will choose Configuration/Reconfiguration, and click next.
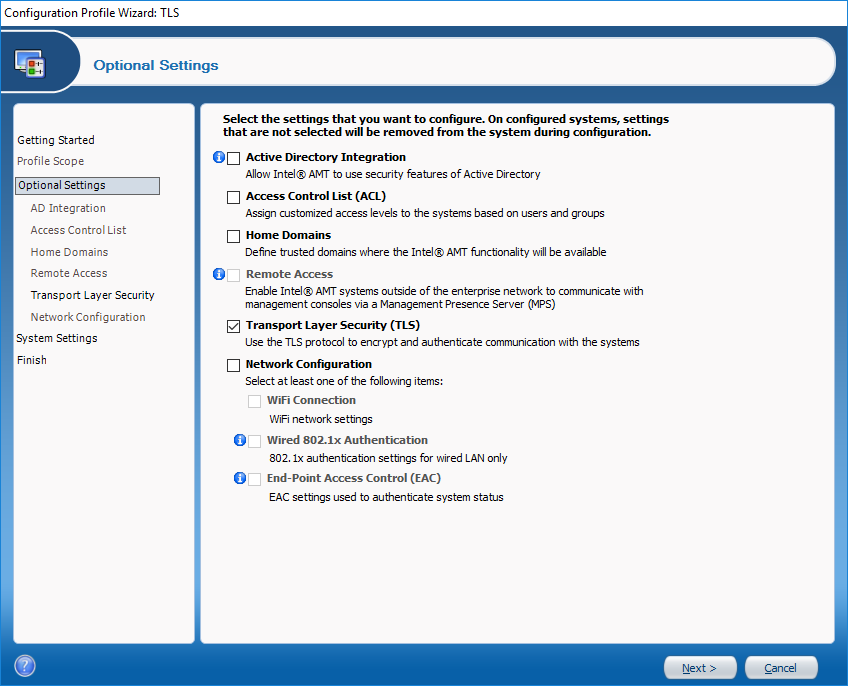
In Optional Settings, we need to select Transport Layer Security (TLS). There are other options that may be useful to you, but for now we will keep it simple and just configure TLS.
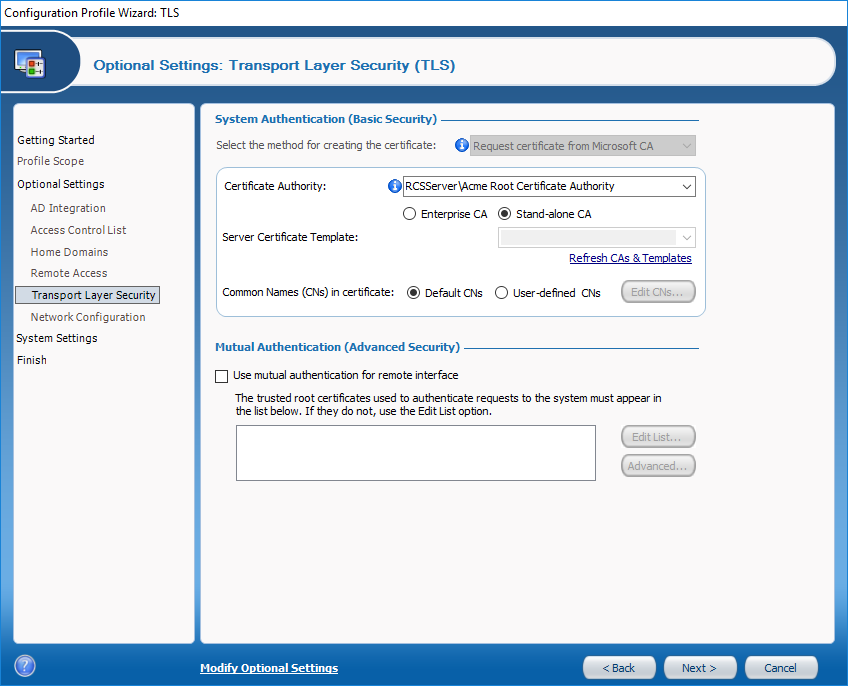
In the Transport Layer Security screen is where we configure the RCS to point to our new Certificate Authority. In the Certificate Authority box you will need to enter
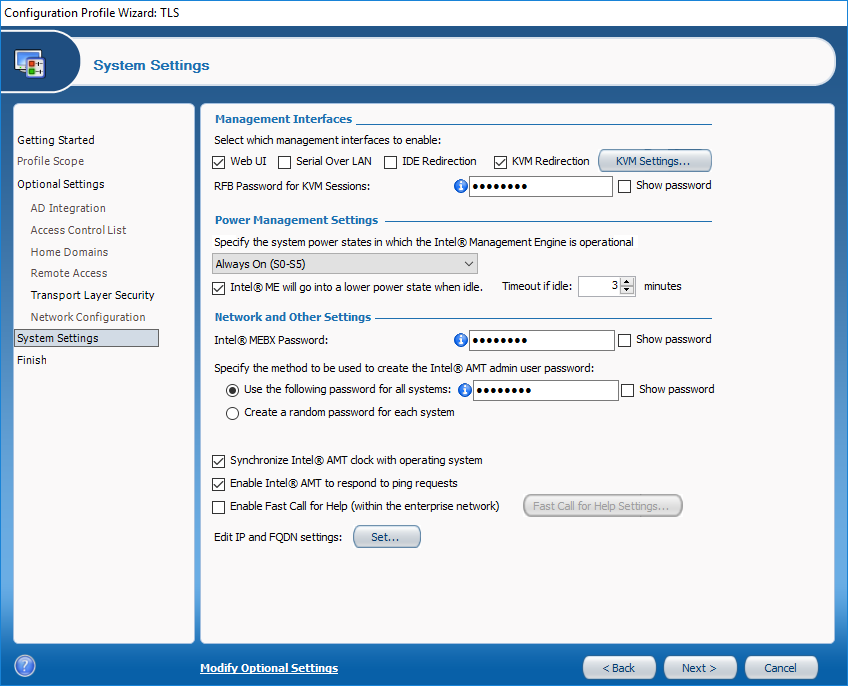
In the System Settings configuration you will need to set the passwords used to configure or connect to AMT, as well which management interfaces you would like available. I have customised the settings to suit our environment, but you you look through them all to determine how you would like to configure them.
One setting to note is in the KVM Settings called ‘User consent required before beginning KVM session’. If you need to connect to unattended computers, you should disable this setting.
Once you click Next and Finish your configuration profile has been created and can be used to configure your AMT devices.
Create configuration USB drive
The are a few options for provisioning Intel AMT in enterprise mode, including Zero-Touch, One-Touch, and Manual. Zero-touch sounds like the way to go, but it requires you to obtain a special certificate from a CA whose root certificate is located in the AMT firmware. The next best option is One-touch provisioning using a USB key, which is what we will cover here.
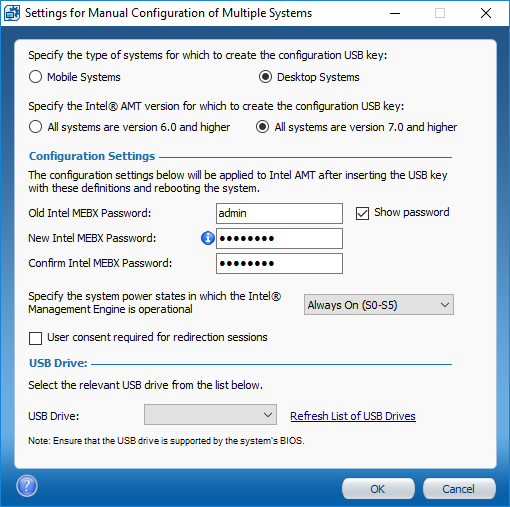
In the Intel SCS Console, click Tools (in the top-left) and select Prepare a USB Key for Manual Configuration. This dialog will let us create a USB key that will set the admin password and insert a Pre-shared key (PSK) into AMT. The PSK is what will allow AMT to trust our remote configuration server. The default password for AMT is admin, and the new password should match the password you set as the Intel MEBX password in your configuration profile.
Once you have set all the settings, select your USB key at the bottom and click OK. This will format the USB key and place a Setup.bin file on it. You can copy this file to additional formatted USB keys if you need multiple copies.
To configure a computer, simply insert the USB key and reboot/power on. Just after the BIOS POST screen you should see the message:
Found USB Key for provisioning.
Proceed with Auto Provisioning (Y/N) ?
Followed by this when you press Y:
Configuration Settings from the USB file were successfully applied.
Press any key to continue with system boot...
We are now ready to complete the configuration using the configuration profile.
Initiate configuration via RCS
The last step to getting AMT configured on your devices is to run a command on the device to tell it where to get its configuration profile.
In the Intel SCS installer files you downloaded at the beginning there is a folder called Configurator which contains the ACUConfig utility. The basic command to configure a computer looks like this:
ACUConfig.exe /Output console ConfigViaRCSOnly <serverFQDN> <profile name>
For testing, you should set ACUConfig to write it’s output to the console, when you put this into production, you should write the output to log file by replacing /Output console with /Output File
The user running ACUConfig needs to have access to the Intel_RCS WMI namespace. By default anyone in the Administrators group will have this access, but for extra security you should give a service account access to just this namespace. To do this, open Computer Management, browse to Services and Applications, right-click on WMI Control and click Properties. In the Security tab you should be able to find Root\Intel_RCS and grant full access for your service account. You can specify the credentials for the service account in the ACUConfig command like this:
ACUConfig.exe /Output console ConfigViaRCSOnly <server FQDN> <profile name> /WMIUser <domain\username> /WMIUserPassword <password>
When you run ACUConfig, it will connect to your RCS and apply the settings specified in the configuration profile, including generating a certificate and inserting it into the AMT firmware. Once ACUConfig has completed successfully, AMT should be configured and ready for you to connect to.
After you have finished testing ACUConfigure on a few computers, you can deploy it using your method of choice to all of your computers. It is also a good idea to schedule a regular maintenance task so that the certificates will be reissued when they are about to expire. Maintenance can be performed with the following command:
ACUConfig.exe /Output File <logfile> MaintainViaRCSOnly <server FQDN> <profile name> AutoMaintain /WMIUser <domain\username> /WMIUserPassword <password>
Install MeshCommander/MeshCentral
Now that we have AMT configured on our devices, we need a way to access and control them. The best free software that I have found for controlling AMT devices is MeshCommander and MeshCentral which are available from http://www.meshcommander.com. These are both developed by engineers at Intel and give you full control over AMT functionality. Personally we us MeshCommander as it is the quickest and easiest to setup, and we don’t need additional functionality that MeshCentral offers. There is some good documentation on the meshcommander site, so I won’t go into how to set these up.
Coming soon
- Powershell control
- Troubleshooting
Leave a Comment
Your email address will not be published. Required fields are marked *